How to: Dying Easter Eggs
April 24, 2023
Have you ever dyed, painted, or colored an easter egg before? Many people, especially around the Easter season, take part in this fun activity. According to rollcall.com, over three billion eggs are sold each year in the United States around the Easter season – that is a whole lot of eggs! Although Easter was earlier this month, this article will provide the best way to dye easter eggs in the future, because why buy an egg-dying kit from Target when one has all they need at home?
There are many different methods out there (natural dyes, crayons, markers, stickers, etc.) but this one will involve food coloring, eggs (as many as you desire), and vinegar. To begin, boil the eggs so they become hard-boiled. To do this, place the eggs in a saucepan and fill up the pan with enough water so an inch of water lies above the eggs. Turn on the heat, let the water boil, and once the water is boiling, let it boil for one minute. Turn off the heat, cover the pan, and let it sit for about 12 minutes. Boiling the eggs prior to dying them is important because it reduces the risk of the eggs cracking. When ready, drain the water from the saucepan and run the eggs under cold water to cool them down.
Preparing the dye is the next crucial step. Grab as many clear glasses (other heat-proof cups work too) as colors of food coloring that you are planning to make. Gently pour about half a cup of boiling water, a teaspoon of white vinegar, and whatever food coloring color is wanted (based on how light or dark you desire the eggs to be, 10 to 20 drops are needed) into each glass.
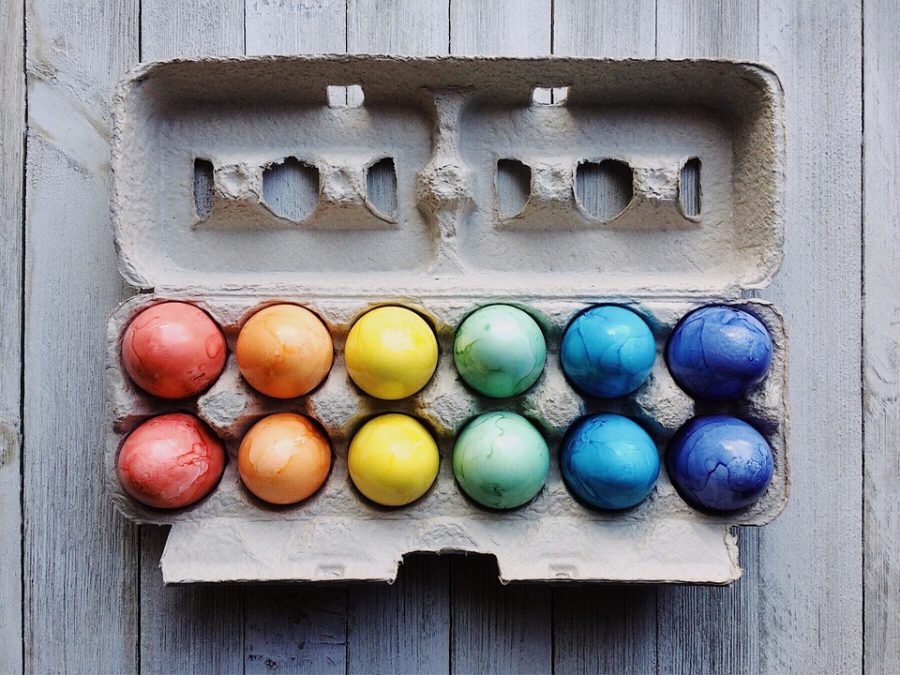
Let the Easter egg dying begin! Do not forget to get the workspace ready. With help from a whisk or spoon (do not use a wooden utensil), submerge and let each egg sit in the glass for five to nine minutes. The longer the eggs sit, the more vibrant and absorbed they will be. But, it is okay every once in a while to carefully lift up the egg and see how it is doing. After removing the eggs from the dye, let them dry in an egg carton or on some napkins. Allow for both the top and bottom to dry by flipping the egg once one side is dry. The eggs are all done! Make sure to store them in the refrigerator if they will not be used right away.
Dying eggs for Easter is a fun, simple activity that anyone can do! The next time Easter rolls around, consider trying out this activity at home while spending time with those close to you.